Things I Forgot I Missed: Ireland Edition

July 9, 2012

When I first returned to America last month, I wrote about the things I had forgotten I missed. But when I got back to Dublin after being away for nearly six weeks, I got the same feeling!

So here are five things I forgot I loved about Ireland, in no particular order.

1. Extra friendly drivers. When you let them squeeze into traffic in front of you and they flash you with their blinkers. It makes driving on the wrong side of the road a little sweeter.

2. Long evenings. It’s not even dark until well after ten!

3. Having the sea so close. That photo above is from Saturday night’s rollerblade along the coast – just around the corner from our house!

4. Whole milk. It just tastes different here and makes coffee way, way better.

5. Fewer options. Everywhere I turned in America, there were so many choices – at restaurants, the grocery store, you name it. So hard to choose!

It’s nice to appreciate being exactly where you are. Know what I mean?

A Double Door Headboard

July 3, 2012

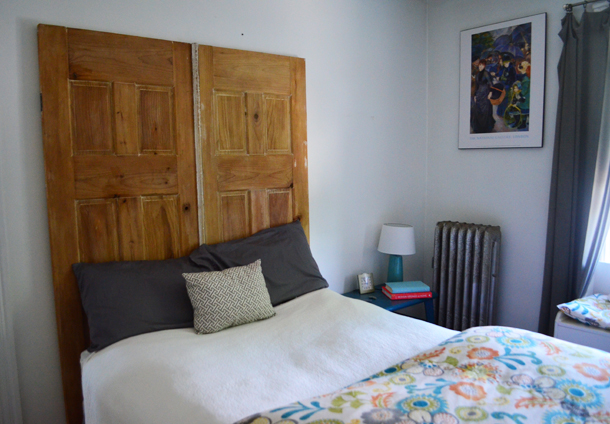
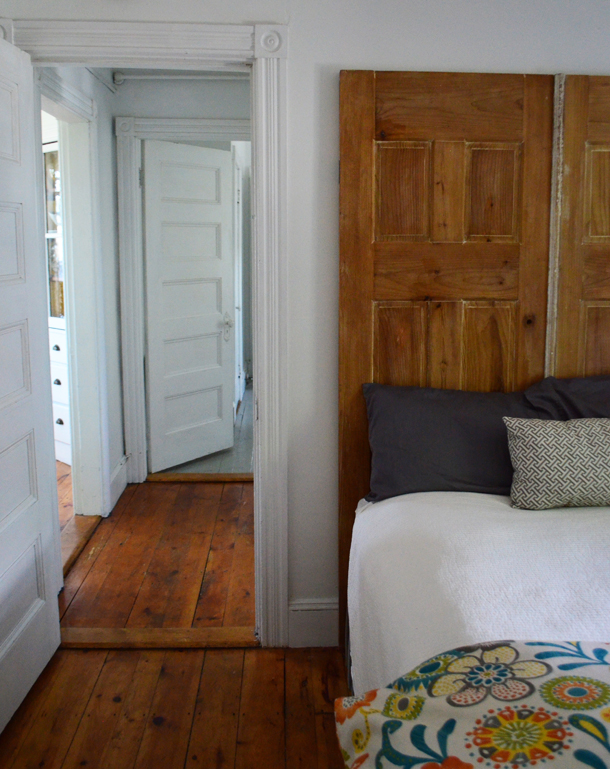
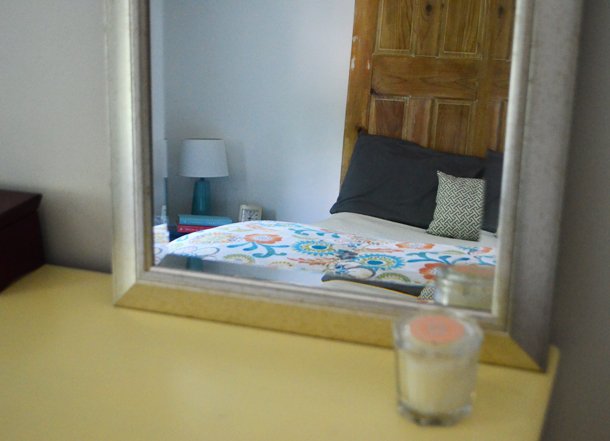
Isn’t my sister’s bedroom so great? Her apartment is very old, has high ceilings and everything is white, white, white. It makes such a great backdrop for big stuff! She lives in the top floor of the 4-apartment building where I used to live before I got married.  While I was home for this visit, she finished off these double doors to use as a headboard.

The doors were originally from my parents’ 1820’s farmhouse and were painted with layer upon layer of white paint. My sister and my parents stripped and sanded them down to the wood. Don’t they look cool?

I would love to do something similar here in Dublin, but our teeny tiny bedroom just doesn’t have room!

DIY Geometric *Statement* Necklace

June 26, 2012

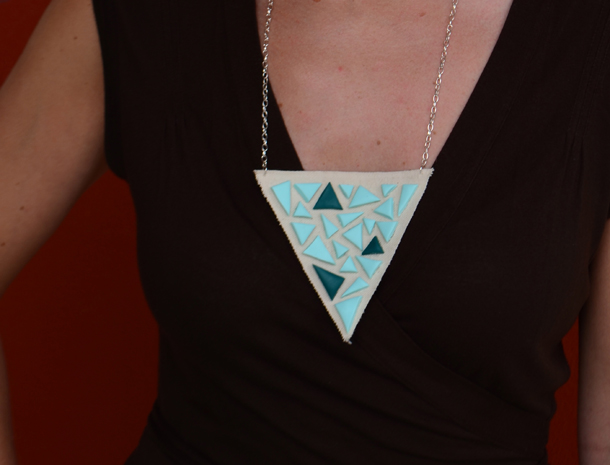
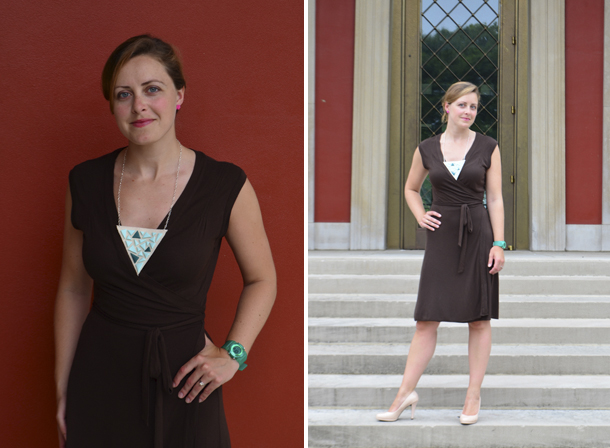
I’ve always been a bit of a wimp when it comes to statement necklaces. They make me a little nervous, all that statement going on. But when I saw Chelsea’s tutorial for a chunky necklace sort of mounted on canvas, I was inspired to try my own version. I’ve been wearing it around town over the last week, making a whole lotta statements – and loving it!

Here’s how to make your own.

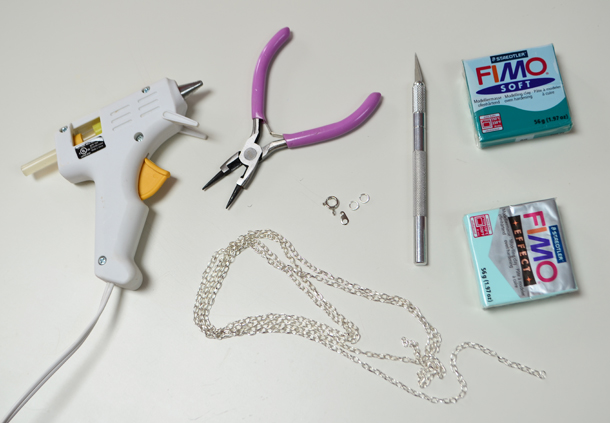
You’ll need the following:

polymer clay like Fimo
rolling pin
knife
baking tray
canvas
glue gun
chain
findings
jewelry pliers

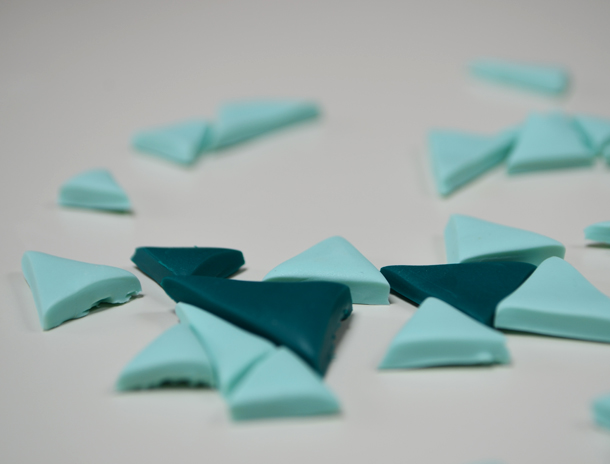
First, roll out your clay to about 1/4 inch thick. Using a knife, cut various size triangles. I cut about 40 triangles, which made this necklace and two smaller ones.

Place your triangles on your baking tray and smooth out any edges. Bake according to the directions on the clay package.

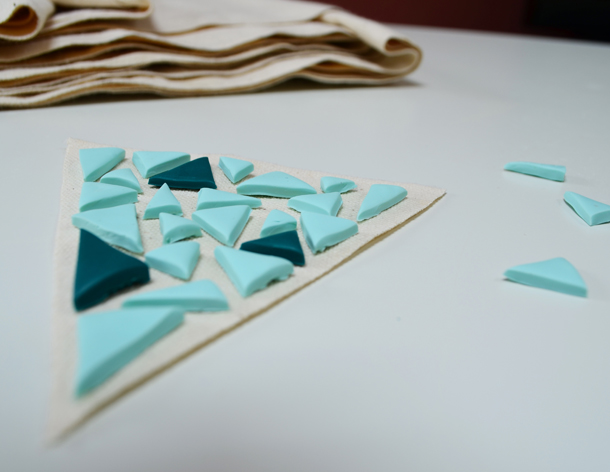
When your triangles are cooled (takes no time at all!), cut out a piece of canvas, making sure to leave enough room at the top corners to attach the chain. Arrange your triangles on the piece of canvas and secure them with a tiny bit of hot glue.

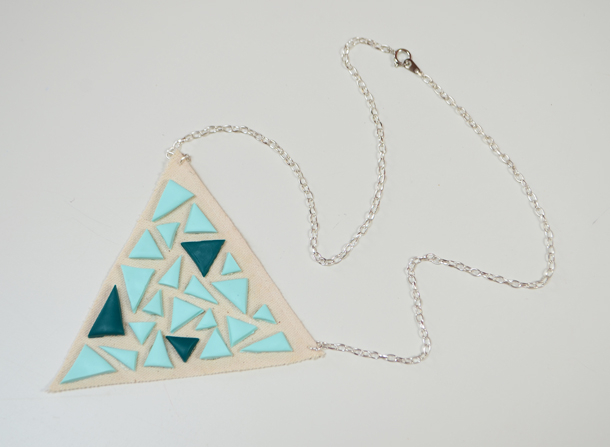
Using your jewelry pliers, attach loops to the corners and then attach your length of chain.

And there you have it! Your very own statement necklace!

{Then have your husband take a few photos on your way to brunch and try not to feel too cheesy!}

Friday Thoughts

June 22, 2012

Our Dublin visitors left this morning, so we’re beginning the last leg of our trip in America. We have one more week, which will be spent almost all in China Village. I’m excited for lots of time on the lake!

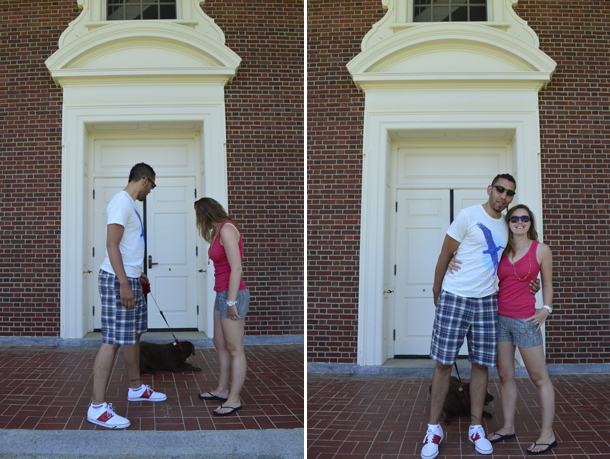
While our visitors were here, we took them up to Colby College, where we got married nearly four years ago. Naomi snapped these photos for us at the front door of the chapel. Our temporary dog, Pijiu, wasn’t feeling particularly photogenic or cooperative!

I’ve been spending more time at the beach this week and less time on the internet, which is exactly the way vacation should be! It’s been hot, hot, hot with a side of humid. Next week, I have a few fun posts planned – including a cute necklace DIY and my new favorite gelato place!

I hope you all have wonderful, sunny weekends! See you Monday!

Maine Business: Jo Ellen Designs

June 20, 2012

Earlier in the week, Michael and I took our Dublin visitors to Rockland and Camden. Our final destination was a winery tour just north of Camden (which you’ll read more about over on Poppytalk soon!), and we thought we’d do a little exploring along the way.

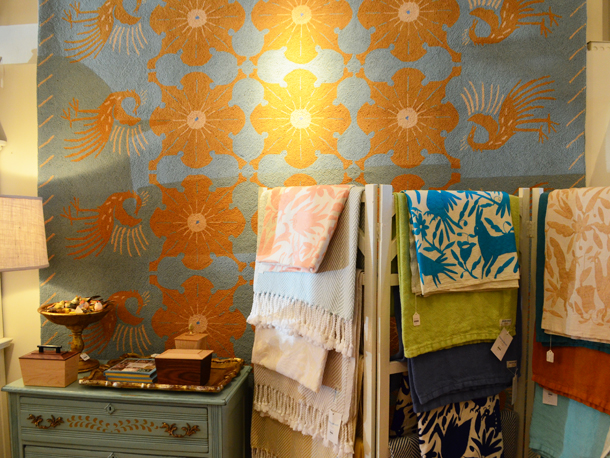
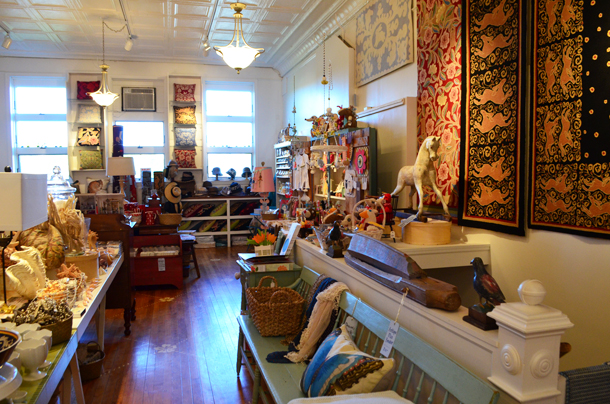
When we walked into Jo Ellen Designs on Main Street, Naomi and I immediately started oohing and ahhing over all the pretty home accessories. The store, with high pressed tin ceilings and bright white walls, holds a broad collection pieces – both large and small. My eye was quickly drawn to the rugs hanging from the walls. Each was more striking than you’d typically see in a rug design, and with simple, beautiful color palettes.

When I asked the lovely woman behind the counter about them, it turned out she was Jo Ellen! And Jo Ellen designs all the rugs and pillows in the store! She designs them, has them made overseas, and sells them in her store in Camden, online, and through a few wholesale retailers.

A bonus neat thing about her rug-designing business? Not only does she donate 10% of her after-tax profits to charity, she also donates $10 from each rug and pillow sale to a designated charity. When you buy one of her rugs, you can read about the charity you’ll be helping to support.

Well worth a visit next time you’re in Camden – or visit the website here! And we’re adding to the never-ending list of shops I need to open in Dublin! Wouldn’t that be lovely?

Cheery DIY: Piñata Lamp

June 19, 2012

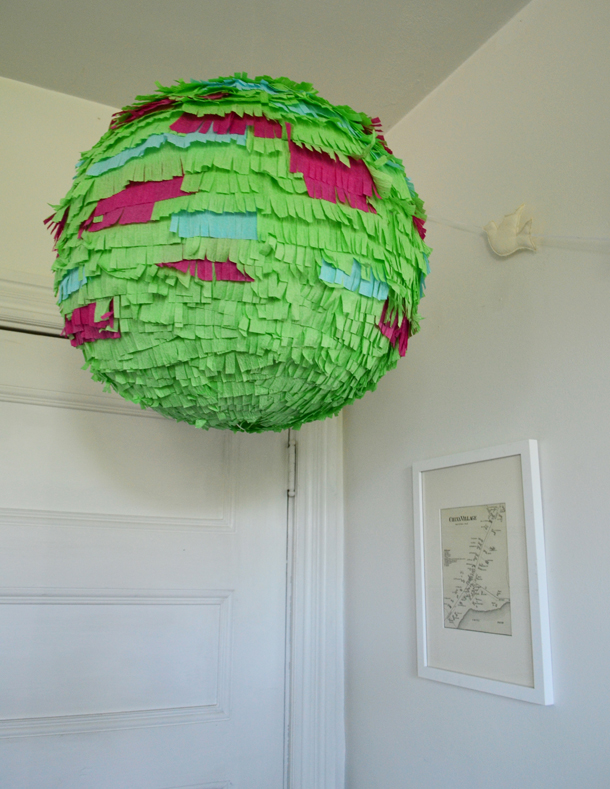
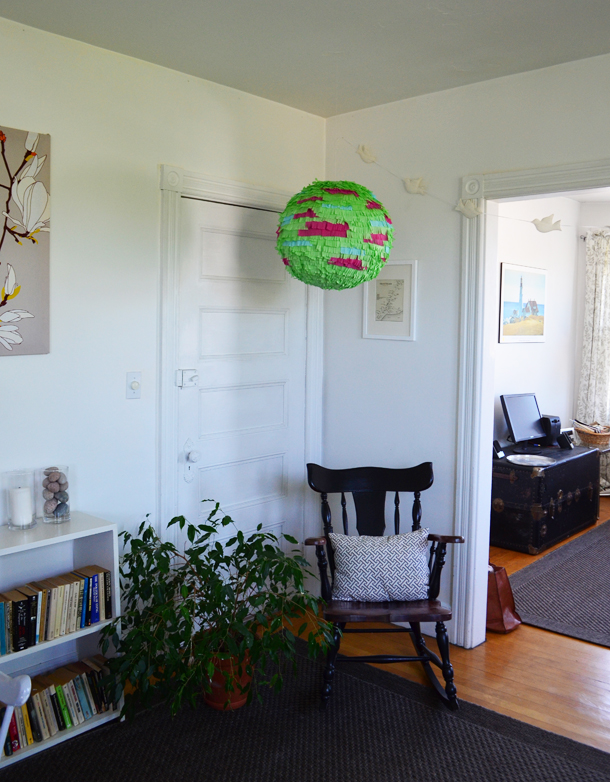
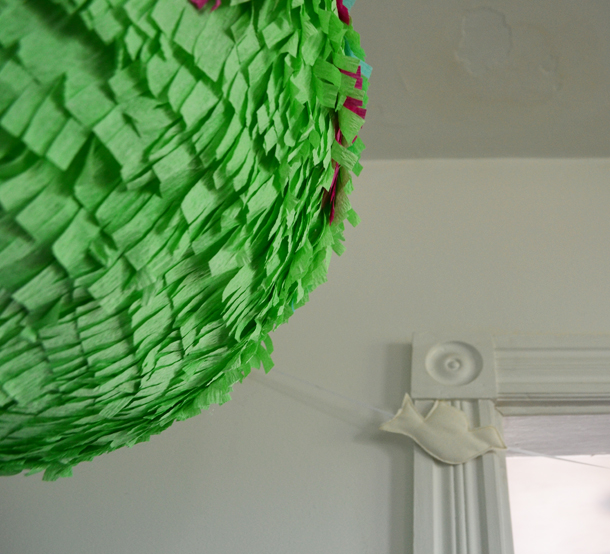
This week, our Maine weather has been cooperating and delivering sunshine and small breezes, but last week it was giving us rain upon rain upon rain, Dublin style. Not so great for my tan, but great for getting a few projects completed. Like this cheerful piñata-inspired lamp!

I love piñatas, but I don’t love the idea of spending so much time on a homemade one, only to bash it to pieces. This sweet lamp lets you have some piñata in your life for a lot longer! This one winged its way to the Midwest to a little teal and pink nursery – but not before I snapped a few photos!

A few weeks before my trip home, I picked up a big paper lantern (like this one) from Ikea. It was two euro – I just couldn’t leave without it! And then apparently I couldn’t go to America without it. Ha!

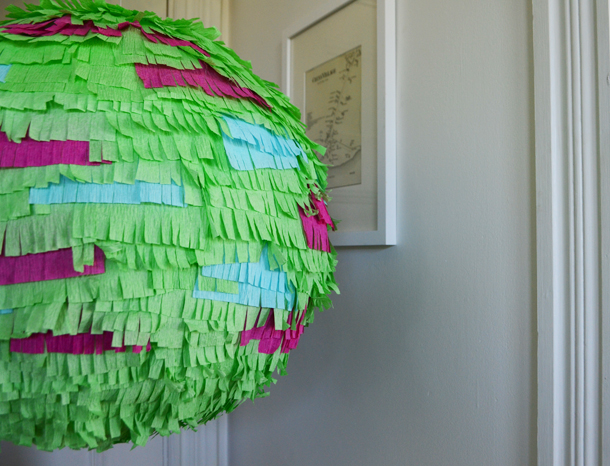
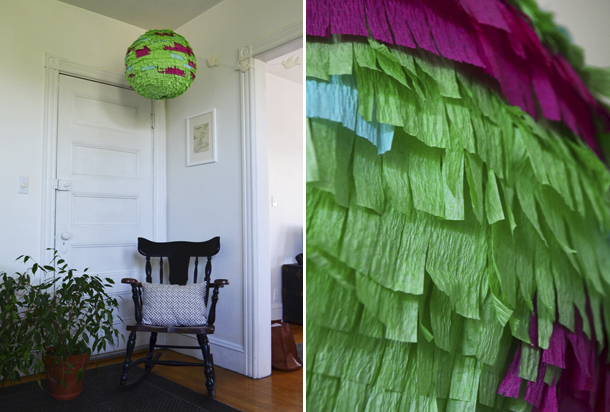
I picked up four rolls of crepe paper from the craft store: two rolls of kermit green, along with a blue and magenta. I cut them into one foot strips, then cut half inch slots in them halfway across the width of the crepe paper. Then I cut those one foot strips into thirds so they would be more manageable.

Then with my trusty glue gun (and about 15 glue sticks), I glued the green crepe paper to the lantern, starting at the bottom and working my way around to the top. When I got about a third of the way up, I started adding strips of pink and blue intermittently.

Et voila! A piñata you can enjoy for a long time!

Special thanks to my sister for letting me use her pretty apartment for these photos!

What you’ll need to make one yourself:

paper lantern
2 rolls green crepe paper
1 roll magenta crepe paper
1 roll blue crepe paper
hot glue gun
15 glue sticks
3 hours of time with a movie to watch or playlist to listen to!

Then follow the simple instructions above!

L.L. Bean Discovery Kayaking Tour

June 18, 2012

For non-Mainers, L.L. Bean is a Maine institution. They’re a clothing and outdoor equipment company based in Freeport, Maine; open 24 hours, 365 days a year. They make iconic Bean boots and we’re huge fans of their Wicked Good moccasin slippers and tote bags.

Approximately 24 hours before our latest guests arrived from Dublin, I discovered L.L. Bean’s Discovery Tours. I can’t even tell you how I came across them, but I landed on their website and immediately decided we’d be signing up.

I called the next day and made reservations for kayaking and clay shooting, three spots in each. I sent Michael with my brother and his friend to go clay shooting, knowing he wouldn’t be too excited about deep, open water. He’s a city kid at heart. And I joined our friends Andy and Naomi for a few hours of kayaking.

Can I just say? What a steal. Each class is $20 per person and runs between an hour and a half to two and a half hours. I would do it again every weekend if I could.

I don’t have photos from the clay shooting class, but the boys loved it. They all came home with souvenir clays, slightly tender shoulders, and bigger egos. I only brought my iTouch in the kayak – I was too nervous I’d dunk my big camera, so forgive the blurry pics. Just imagine it’s because of the wavy bobbing of the ocean water!

So here’s how the Discovery Tours work. You call your local store and sign up, then show up and pay on the day. After we paid and signed a liability form, we hopped on the L.L. Bean bus and drove off to Wolf Neck State Park to meet our guides.

When we hopped off the bus, Pete and Rob met us and got us fitted in water shoes, life jackets and paddles. They gave us a little tutorial on how to paddle properly, and made sure we were sunscreened and bugsprayed up before they took us down the dock to the kayaks.

The dock has ramps, so you climb into the kayak, and they just slide you in. If you were a little nervous about trying to climb into a kayak from the dock, fear not! It feels very secure.

And then you’re off! Your guides take you on a tour up the Haraseeket River inlet and then down again through all the boats moored there.

At one point, Rob stopped us to show a horseshoe crab he’d found in the water. My friends from Dublin had never seen one before! And between the two of them, Rob and Pete explained lots about the surrounding area, the islands at the mouth of the river, and the wildlife.

On the way back to the dock, we spent a little time ‘boat shopping’ in the harbor. It was so fun to get so close to the boats and weave in and out between them.

We lucked out with a nearly perfect day on the water – just warm enough but not too hot and not too breezy. It was the perfect way to show Maine off to visitors, and the perfect way for me to fall in love with it all over again!

If you’re in the area, check L.L. Bean’s website for more about their Outdoor Discovery classes.

Maine Magazine

June 14, 2012

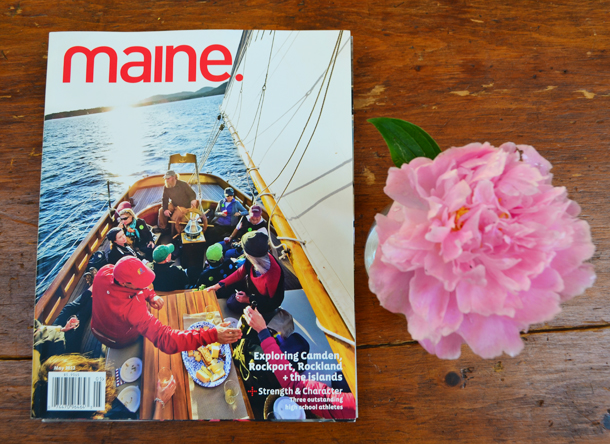
Earlier in the week, my friend Emily gifted me a few past copies of Maine Magazine. And they couldn’t have come at a better time. Just a few days earlier, I was struggling to find inspiration for exploring Maine. Since I’ve moved to Ireland, I’ve never had that problem on trips home. There’s always been at least a short list of things I’ve been meaning to do and places I’ve wanted to explore. But this trip, I somehow lost some of my motivation.

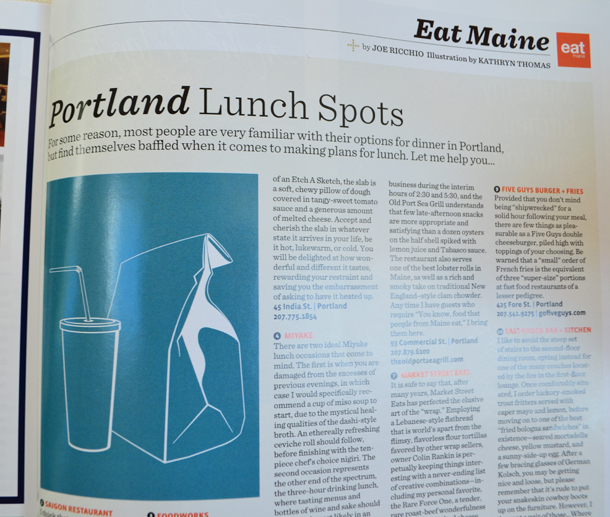
So enter Maine Magazine. It’s an absolute gold mine of things to do and see, places to eat, galleries to visit and events to add to your calendar.

Each issue made me so excited about this state – there is so much going on!
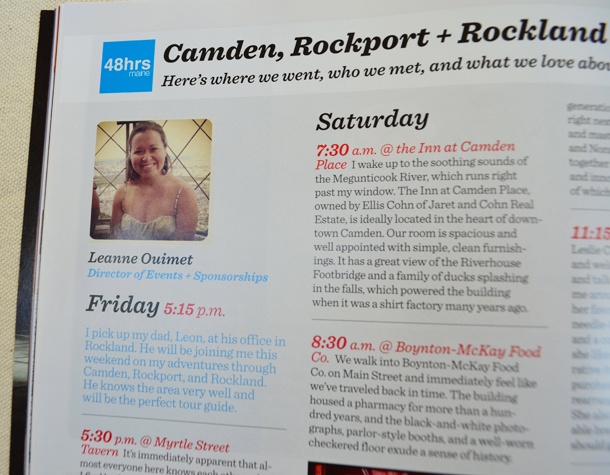
Maine Magazine does a feature in each issue where they visit an area for 48 hours and explore tons of spots – both on and off the beaten track. And the best part? They’re all available online!

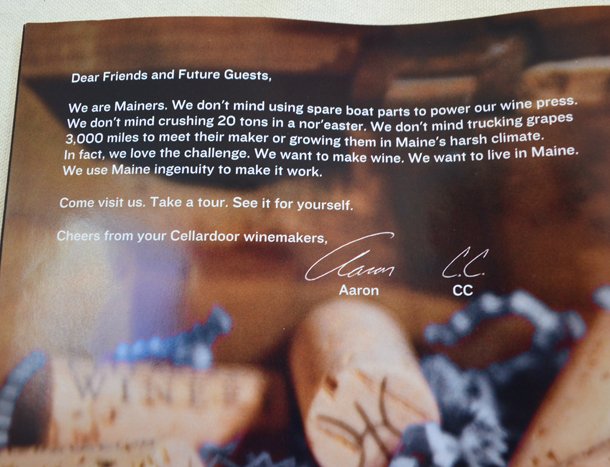
My one small criticism about the magazine is that there are a lot of ads. But I could even turn that into a positive – from those ads I got lots of extra info about what’s going on, what restaurants have opened, specials on offer. That ad above for the Cellardoor winemakers – I had no idea people were making wine in Maine – how cool!

Whether you’re a visitor or a real Mainer, Maine Magazine is a great resource – they’re highlighting the wonderful people, creative entrepreneurs and fabulous food this state has to share. I can definitely get on board with that. In fact, if I lived in Maine, I’d probably camp out on their doorstep with my resume until they hired me. What a fun job that would be!

Quickie DIY: Gold Monogrammed Journal

June 13, 2012

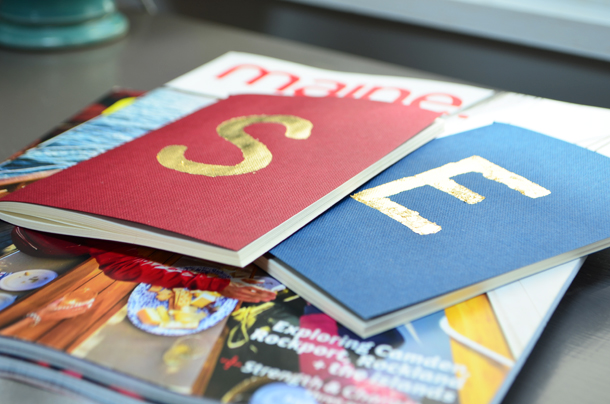
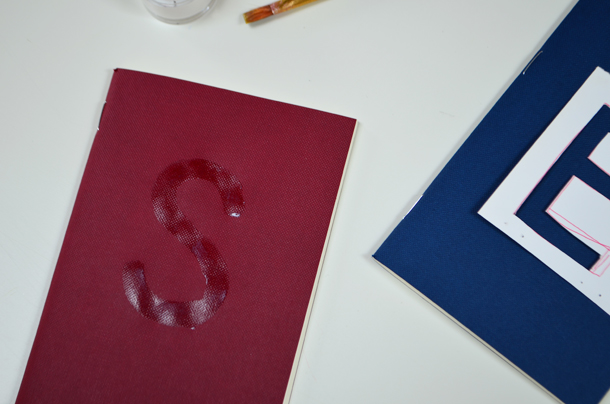
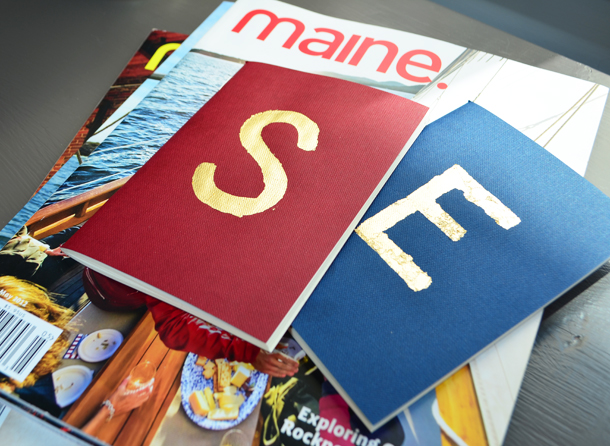
I’m so excited with how these little journals turned out. I picked up the blank journals at Modulor when I was there last month. I had such a hard time choosing colors to bring back – I wanted one of each! But I settled on these basic red and blue ones, knowing that I would be able to give them a little sparkle.

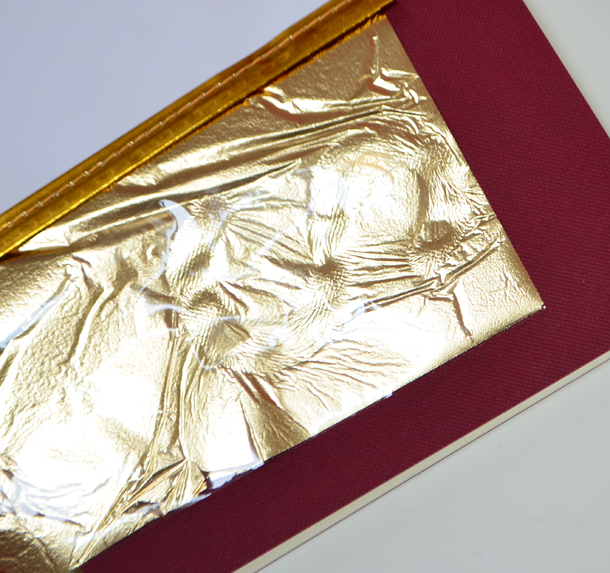
And can I just tell you? Gold leaf is my new favorite trick. It’s a little delicate, but really so simple.

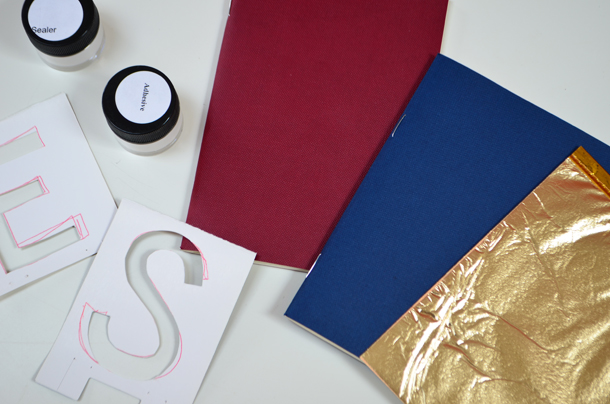
I picked up a gold leafing kit at Michael’s. It was actually quite cheap because I used the 40% off coupon that comes every week in the paper – it couldn’t have been more than 6 dollars with the coupon.

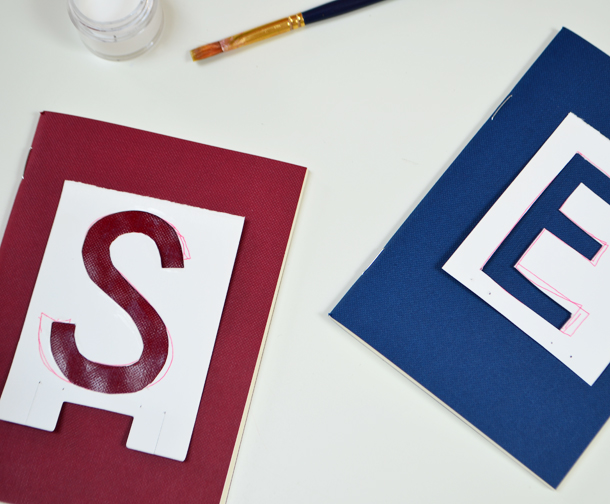
Using some bits of scrap card, I drew my letters (these are headed to two sweet girlies down in Texas) and used my Xacto knife to cut them out. They’re not perfect, but if that’s what I was going for, I could have printed letters from the computer and cut them out instead.

With a paintbrush, I painted on the adhesive that came in the gold leafing kit. You’re supposed to wait until it gets tacky before applying the gold leaf. I tried to use as little as possible on my brush so it didn’t run under my stencil. Worked pretty well!

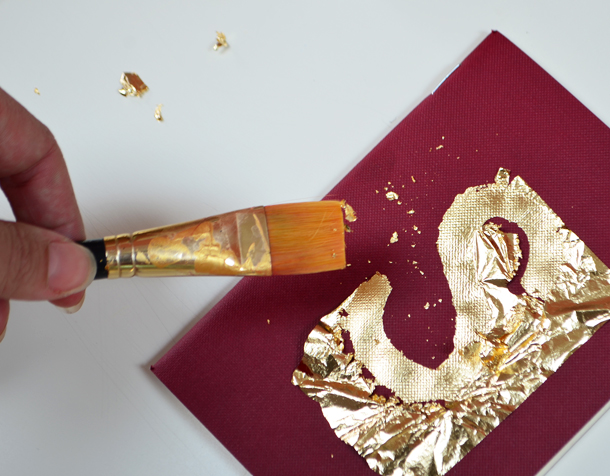
Then I laid the gold leaf on the tacky adhesive and used a brush to make sure it stuck to all the parts of the letter. Once it was all stuck, I used the same brush with a little more force to tear the gold leaf at the edges of the letter. It was amazing how the leaf stuck firmly to the adhesive but came right off in a pretty perfect line at the edges.

I love the way the gold highlights the texture in the journal.

It got a little trickier when I tried to use the leftover leaf to make the second journal. I’d recommend trying to use as large remnants as possible so it can stick to the adhesive better.

The edges aren’t perfectly perfect, but I love the end result. It adds a little sparkle and personality to the journals and really took about 20 minutes to complete. Now I just want to add gold leaf to everything.

They’ll be in the mail to the two girlies later this week – along with another project I’ll be sharing with you later in the week!

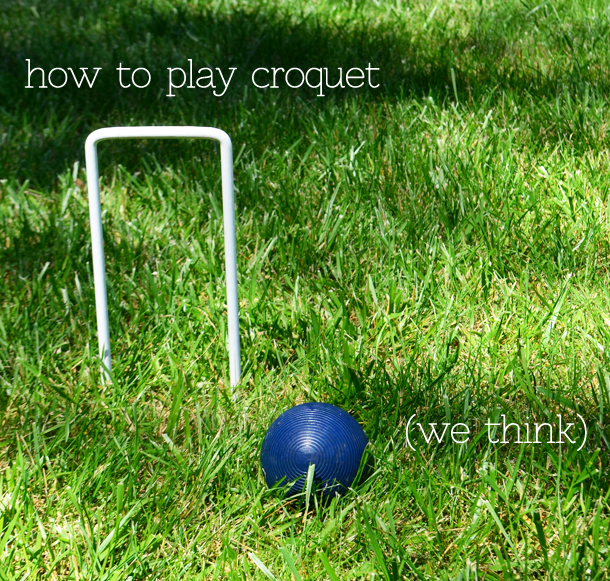
How to Play Croquet…(we think)

June 12, 2012

These photos are going to give you a very specific image of my family. Please disregard. Overall, we are not nearly this preppy, posh or fussy (not that there’s anything wrong with that either). But last weekend, we had a little extended family gathering with a croquet match.

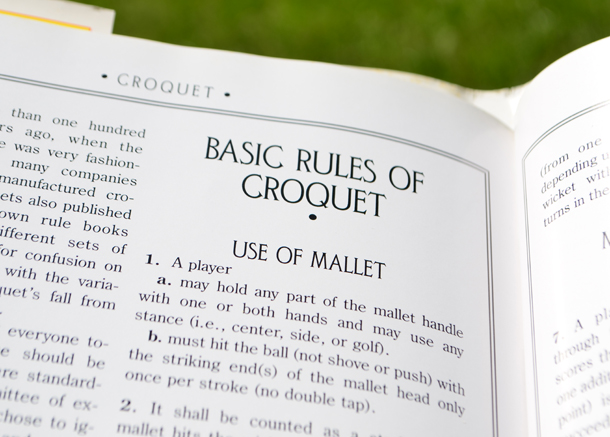
My aunt found a book of croquet rules and gave it to my grandmother for her birthday. Croquet is my grandmother’s game, but no one else ever really knew the rules. Instead, we played by my grandmother’s rules and my grandfather was always a little dubious.

So this weekend, we used the book of rules, roped in 12 family members, and played an epic round of croquet. In the end, my grandmother (teamed with my ultra-competitive father who did dance moves that would be banned by the NFL every time he nailed a wicket) schooled us all, to spite that darn rule book.

Here’s how we play*:

Set up the court like this. Get into six teams of two – because more people make for more laughs. Hit the ball with the mallet through the wickets to the stake. If you go through a stake, you get an extra turn; if you hit another ball, you get an extra turn. Expect an attrition rate of about fifty percent – we lost people at an alarming rate, so this is another good reason to have so many players. When someone wins, call it a day. Croquet can be one long game! Optional: cocktails and bug spray. Some of us needed both.

Michael was a natural, until he ditched the game to cheer for the Irish football team playing against Croatia. He should have stayed with the croquet – he was the only one who could have given my grandmother any competition!

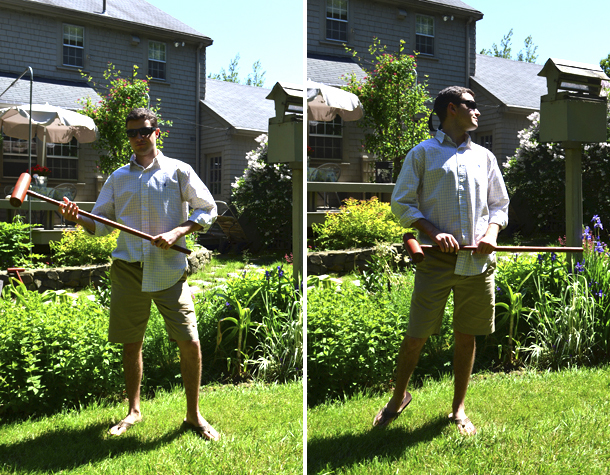
My brother showed up dressed to win. He’s trying out a new look – croquet chic. He’s still got a little work to do on his game though.

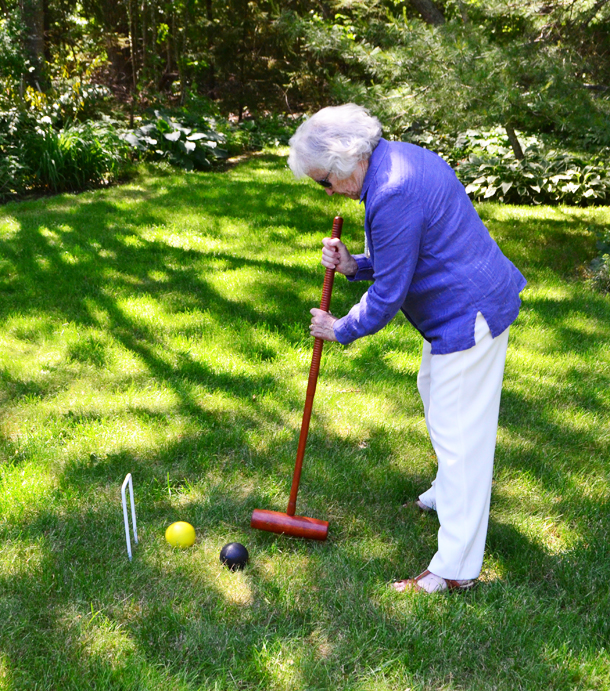
The champion herself, showing off the winning technique.

And that about sums up the Boyle/Foley/Westbrooks school of croquet. Does your family play? Any fun rules we haven’t discovered yet?

*No guarantees we’ve taken any of that new rule book to heart!