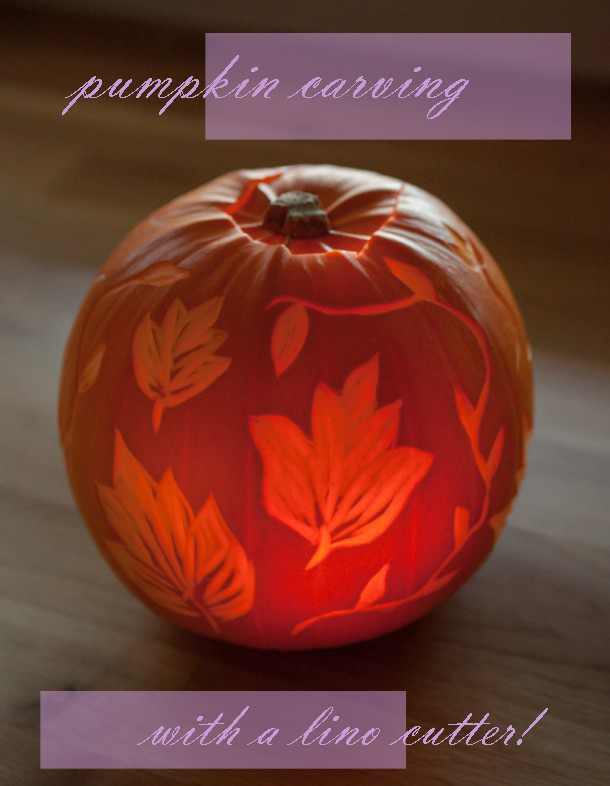
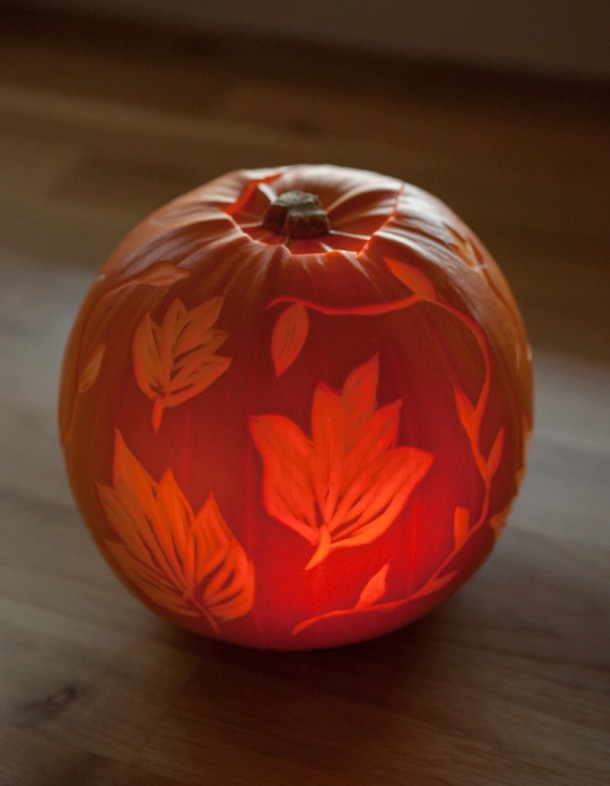
For the last twenty-seven years of my life, I’ve been carving normal pumpkins, hacking triangles and circles with a big old knife. But this year, my friend Julie suggested using a lino cutter to etch away at the surface of the pumpkin. Julie is so clever. This new technique was extremely satisfying!
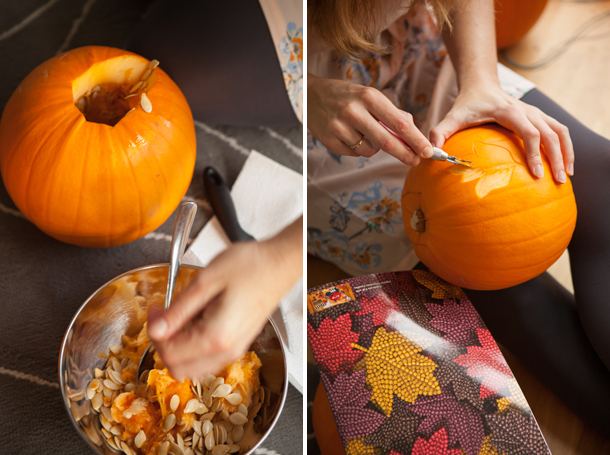
Everything I know about carving pumpkins with a lino cutter, I learned from Julie. So here’s what she tells us to do. Choose the side you want to carve on and make sure to cut your top hole out of the pumpkin towards the back of that side. You want your canvas, so to speak, to be as big as possible. Julie cut a hole in the bottom of her pumpkin because she has a battery powered light to make her pumpkin glow. I stuck with the top hole since I’ll be using a candle.
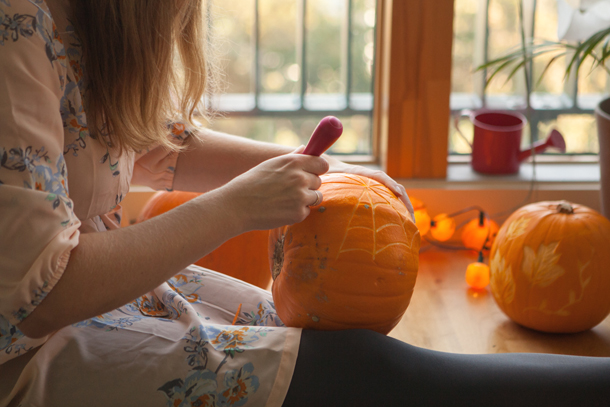
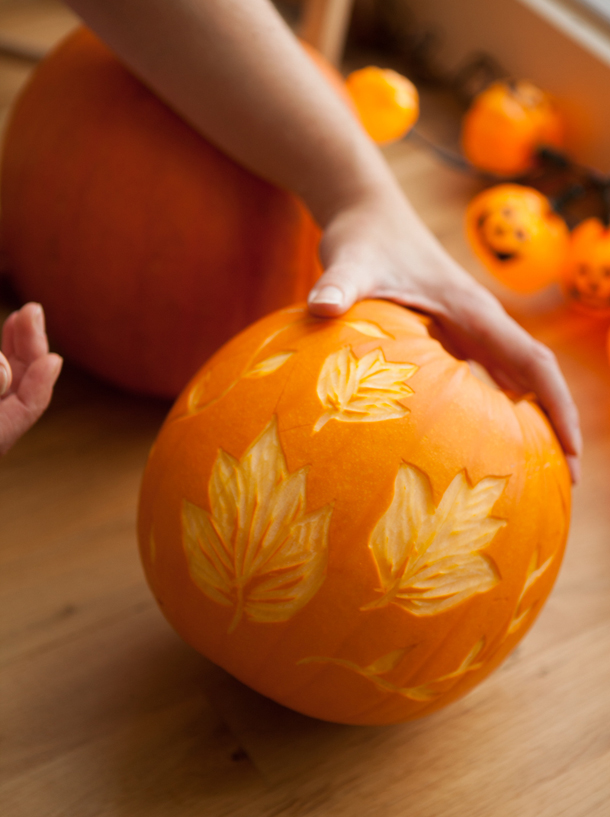
You can draw a shape on the pumpkin with a pencil or you can just have at it with your lino cutting tools. I decided on a leafy vine-y pattern for one pumpkin and a spiderweb for the other one. Very unusual for Halloween, I know.
The process was fast and simple, just how I like it. Plus, it was a great feeling to be able to make a pretty pumpkin, rather than the standard shapes cut out of it. This felt more like art!
Now, here are just a couple of tips to help you create your own masterpiece:
1. Make sure you have enough of the skin carved away so the light inside can shine through. If the light is too dim, try scraping away at the inside of the pumpkin behind your design to make it thinner and more translucent.
2. You can carve out a silhouette (like a spooky cat in front of a moon!) if your brain can handle thinking about negative space on a pumpkin. Mine was only ready for simple shapes over the weekend, but next time I might be more brave!
3. Clean off your lino tools when you’re done! Otherwise they’ll rust. Which reminds me, I need to clean mine off tonight!
What do you think? I’m quite proud of my first attempt. How are you carving your pumpkins this year?
All photos and inspiration by the wonderful Julie Matkin!

17 Comments
Beautiful but not very scary. I think I could make even the lino-knife version terrifying. Good to see that pumpkin carving lives on.
Everyone isn’t out for scary. Those with leaves are just prescious!I It really brings fall right to your soul. Aaahhh!
Your pumpkin looks great! The leaves are very pretty. I really like this idea, and we already carved pumpkins, but I still have a few left, so I might try it out.
Happy Halloween from a fellow former Mainer (who is obsessed with Ireland) 🙂 I was raised in Damariscotta, but live in North Carolina now.
Hi Abigail! I absolutely adore Damariscotta – if I ever convince my husband to move back to Maine, that’s where we’re headed! Nice to meet you electronically!
This is so lovely Emily! Love it. Now on to find me a Lino Cutter… 🙂
I found it! I found it! I mean the lino cutter! I just need to buy few pumpkins and then I’ll be ready for my pumpkin carving weekend!
That just made my weekend! Yay! I think you’ll love the lino cutter – and after pumpkins, you can move on to making stamps! Might have to do a tutorial on that – they’re so easy!
[…] Pumpkin Carving with a Lino Cutter, by from china village […]
That is so cool! The leaves turned out so great and it’s the perfect fall decoration!
I think I need to get a lino cutter before next Halloween.
Yes, you definitely do! Must share a few more uses for them – I use mine all the time to make little stamps out of erasers!
[…] Image via […]
Hello, I think your site might be having browser compatibility issues. When I look at your blog site in Chrome, it looks fine but when opening in Internet Explorer, it has some overlapping. I just wanted to give you a quick heads up! Other then that, terrific blog!
This design is spectacular! You certainly know how to keep a reader entertained. Between your wit and your videos, I was almost moved to start my own blog (well, almost…HaHa!) Great job. I really loved what you had to say, and more than that, how you presented it. Too cool!
What cool ideas! I am a big pumpkin carver and I’m always looking for new ideas!
[…] From China Village […]
Great idea to use a lino cutter for pumpkin carving – I’m going to give that a go this year