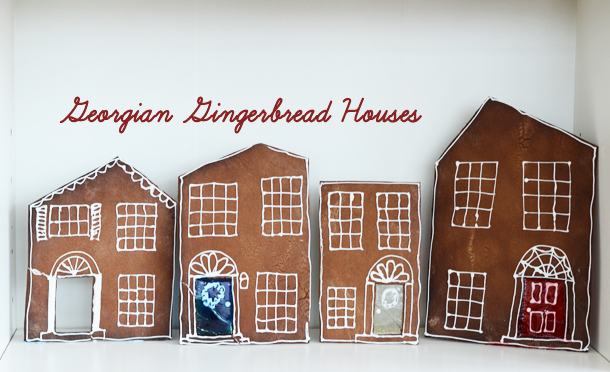
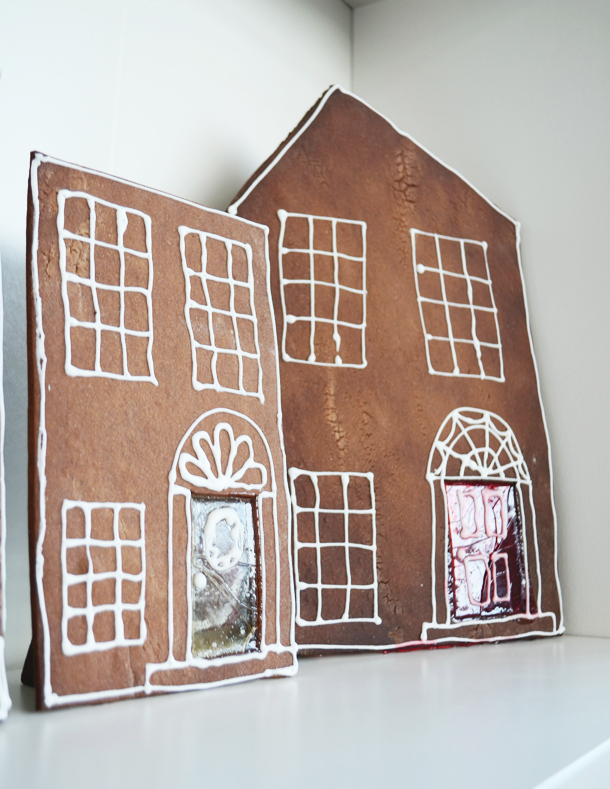
Now that we’re well into December, it’s safe to really bring out the holiday projects and decorations. So I bring you, drumroll please, Georgian gingerbread houses! Well, more like Georgian gingerbread facades, really. But aren’t they cute?
Last week, I realized I had an old batch of gingerbread dough in the freezer since April. I vaguely remember I wanted to make some sort of Easter gingerbread land. But then I realized that was a terrible idea and left the dough in the freezer for seven months. Since we weren’t planning on eating the gingerbread, I figured it was worth a try rolling them out. Turns out, doesn’t even matter if you leave this gingerbread in the freezer for seven months, it still works a treat! (Although who knows what recipe I used all that time ago, so I can’t even recommend it or replicate it! Bummer!)
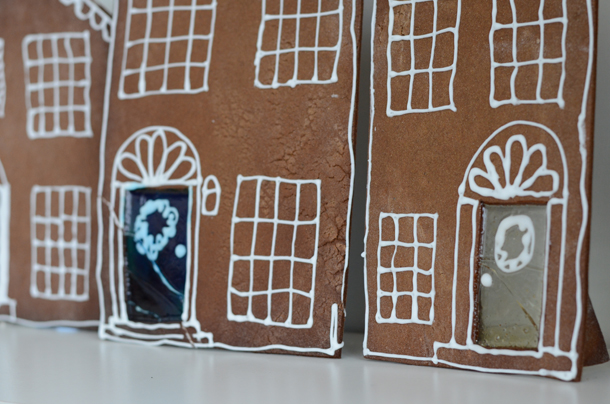
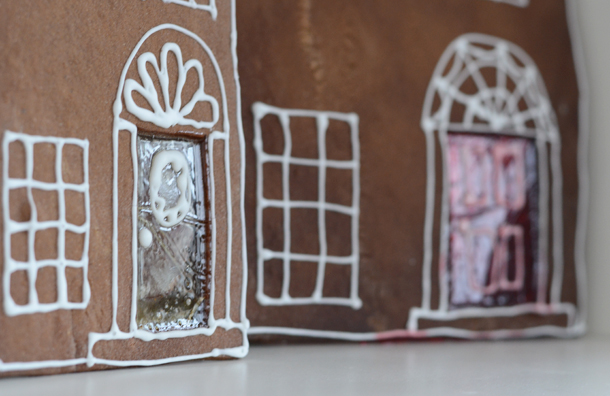
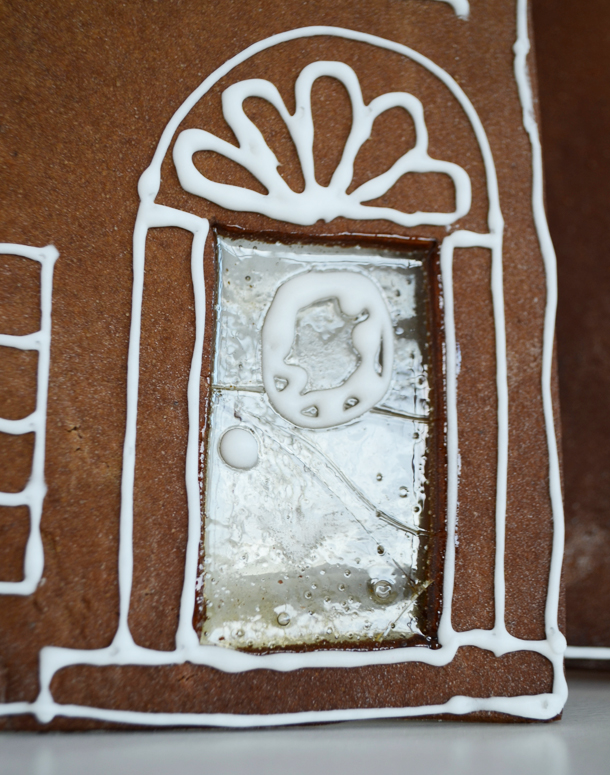
I rolled out big rectangles with a rolling pin and used a pizza cutter to cut slightly slanty roofs. Then I used a small knife to cut out doors. I wanted to make colorful doors like typical Georgian houses, so I smashed up some clear hard candy and sprinkled that where the door would be before baking. I put them in the oven for 20 minutes and the candy melted and formed a thin glassy layer. For the red and blue doors, I just added a few drops of food coloring to the crushed candy before baking. They’re quite delicate but I think they look so neat!
Once the houses were baked and cooled, I made up a batch of royal icing (from my friend Caroline over at Bibliocook), from one egg white, a drop of lemon juice and 1 and 7/8 cup of powdered sugar, whisked all together. At Caroline’s suggestion, I poured the icing into a ziplock bag and snipped the corner off. Piping icing has never been my strong point, so it took me several days to get up my nerve! But it was beyond easy and fast!
I even used the royal icing to make the houses stand upright. I had baked a few random triangles of dough and stuck those to the back with royal icing to make them prop up. I was still a little nervous that they’d topple when someone walked by, so I stuck them to our bookshelf with a little sticky tack. When I left for the airport, they were still going strong!
There you have it, Georgian gingerbread houses for the holidays!

12 Comments
These turned out beautifully! I love the doors too!!!
Thanks, Abigail!
I love these! Its a great take on the ‘typical’ gingerbread house (which I’ve never managed to actually try my hand at making before). And the glass doors are perfect!
I’ve never really tried one before either – I think this is a good starter project since it’s only 1 dimensional!
They are FABULOUS! I think I’ll still go for the ikea kit though 😉
Wimp!! 😉
Love this idea!
Thanks, Katie! Maybe we could make a gingerbread China Village!
That would be great fun!
They look fantastic, Emily! That ziplock piping bag trick is very handy – I’ve even used it to transport icing for last minute piped messages on birthday cakes before. The icing stays usable for ages.
Well I learned my lesson – I left it un zipped for a little while and found it oozing all over my hand 😉 Once it was zipped I was a much happier camper! Thanks for your recipe!
I love these. And they look fabulous in person. [can you say that about a gingerbread house?]